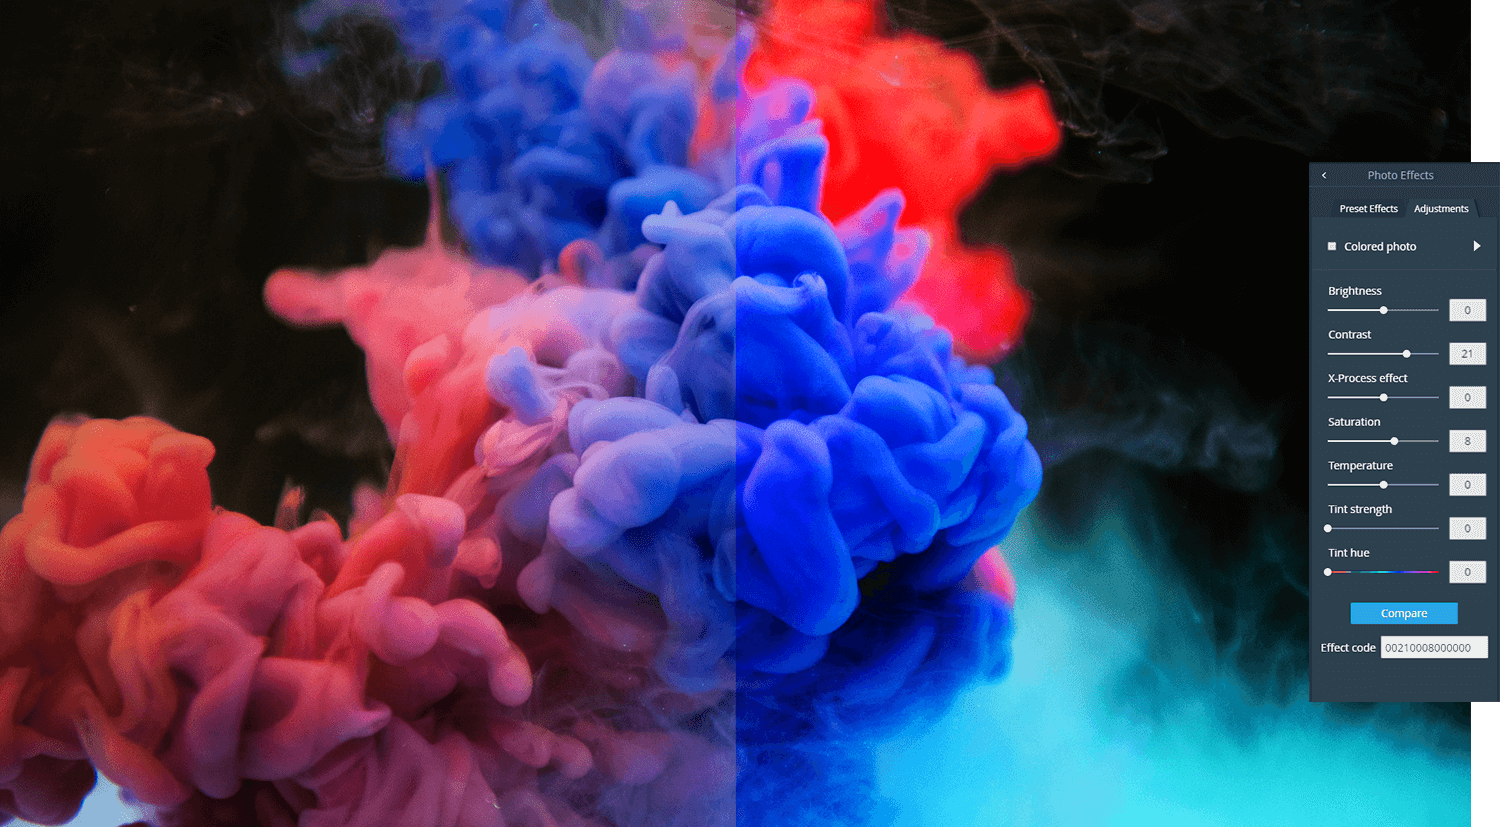
The photo editing process is one of the most creatively satisfying activities. Unlike most of the other creative professions, the result of the photo editing work is displayed right there and then. However, it was not always like this. The industry has evolved a lot from the 1800s and today, the photo editing software available in the market ensures that the result of the photo editing is right before the editor. Considering the various aspects involved in photo editing and at the same time, how each element plays a critical role in the final product, it is important to understand the top photo editing tips for creating stunning photographs.
Flattening the image when it is in raw format
This is the strong foundation to any photo editing project. The first thing to do in the Camera Raw is to adjust the color temperature and exposure of the photograph. Following this activity, one should adjust the slider (-30 to -80) and shadow slider (+30 to +80). The expectation is to get a really flat image before it goes to the editing application. The toning and techniques provided in the editing process will provide the right amount of contrast.
Use healing brush rather than spot healing
One should always use the healing brush rather than the spot healing brush technique. Doing this, you will be able to pick your own source points. Healing brush will also give the independence to take care of the pimples or any other inconsistencies that are there on the picture. This can be used equally effectively on landscaped and sports shots. While one has to be very attentive while doing this, you will be amazed to notice the change it can make to the final product.
Use clone stamp set to lighten or darken
It is suggested to use the clone stamp to lighten or darken. This can be implemented not only on backgrounds but also on skin. But before you jump out of your seat, make sure you use it around 15% opacity and use it on areas that do not already have too much detail. It can be a very helpful tool for images that are clicked in natural light or to blend transitions in sky or on patterns that usually do not have a lot of detail.
Use Frequency Separation
This is one of the great techniques from smoothening out skin. However please note that this is something that one has to use in moderation and not regularly. However, the tool give great results on clothes skies, backdrops etc.
From black and white layer to soft light
This is one of the most interesting tips and tricks for photo editing. Start with using a black and white layer and then change the blending mode to soft light. While the image at this point will look like it has too much contrast, at this stage, drag the opacity to around 20-60%. The final result that you will achieve will give a sharp commercial look to the images. Also, by doing this, you will be able to control each color with the slides on the black and white layer.
How to deal with low resolution
The best resolution of the image will largely depend on the final usage of the picture. For projects like the photo books, the higher the resolution, the better it is. And if you are not sure about the final usage yet, click the high resolution picture at the start and then you may scale it down if required. Because of the online revolution where the image quality required is not very high, one may think that the high resolution pictures are not required. But keep in mind that the online ads will get blurry in the print format. Hence, it is suggested to keep the high resolution version first and then scale it down, if required.
Using different blending modes
Apart from changing the black and white layer as explained above, you can also change the curves layer to luminosity. By doing this, you will only work on the contrast of the image and not saturation. Also, there are many blending modes available. So try then, be creative and don’t stop experimenting.